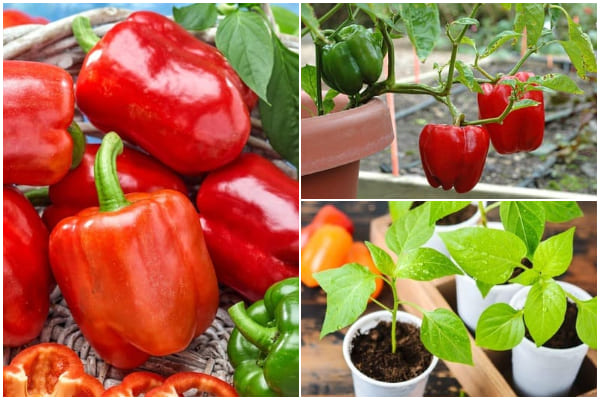
Bell peppers are a versatile and colorful addition to your garden, even in limited spaces. Growing them in containers allows you to control their environment, protect them from pests, and enjoy fresh produce at your fingertips. Whether you’re a gardening beginner or an expert, this guide will take you step-by-step through the process of growing healthy and productive bell pepper plants in pots.
1. Choosing the Right Pot
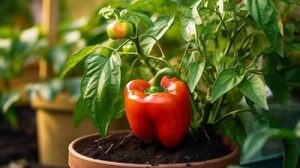
The size of the container is crucial for the success of your plants. Choose a pot that is:
- At least 12 inches deep and wide to provide enough space for root growth.
- Made of materials like terracotta, plastic, or grow bags, each offering unique benefits.
- Equipped with proper drainage holes to prevent waterlogging, which can lead to root rot.
Consider using grow bags, as their breathable fabric improves aeration and reduces overwatering risks
2. Selecting the Right Soil
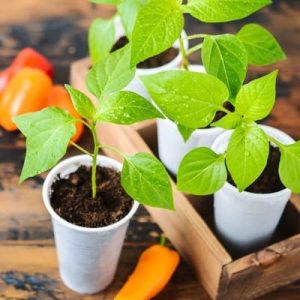
Bell peppers thrive in light, well-draining, and nutrient-rich potting mix. Avoid using garden soil as it tends to compact in containers, reducing oxygen flow to the roots. To further enrich your potting mix:
- Add compost or well-rotted manure for organic nutrients.
- Mix in perlite or sand to improve drainage and aeration.
3. Planting
- Start from Seeds or Seedlings:
Begin seeds indoors 6–8 weeks before the last frost date, planting them 1/4 inch deep in seed trays.
Alternatively, purchase healthy seedlings from a nursery for faster results.
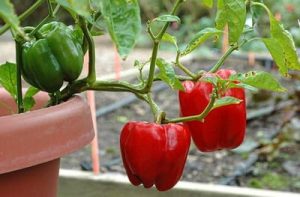
- Transplanting to Pots:
Once seedlings are 6 inches tall and have multiple true leaves, transplant them into your prepared containers.
Plant each seedling in the center of the pot and firm the soil gently around the base.
4. Sunlight and Temperature Requirements
Bell peppers need plenty of sunlight to thrive:
- Place your containers in a spot that receives at least 6–8 hours of direct sunlight daily.
- Maintain a temperature range of 70–85°F during the day and 55–70°F at night for optimal growth.
If you live in a cooler region, consider using a greenhouse or grow lights to provide consistent warmth and light
5. Watering and Fertilizing
- Watering: Keep the soil consistently moist but not soggy. Water deeply, allowing excess water to drain out of the pot.
- Fertilizing: Feed the plants every 2–3 weeks with a balanced fertilizer. A liquid feed rich in phosphorus and potassium is ideal during the flowering and fruiting stages.
6. Supporting Your Plants
As bell pepper plants grow taller and begin producing fruit, their stems may struggle to support the increasing weight, especially as the fruits mature and grow heavier. To ensure the health and productivity of your plants, providing adequate support is essential. Introducing stakes, small cages, or trellises early in the growth stage can prevent the stems from bending or breaking under the pressure of the fruit.
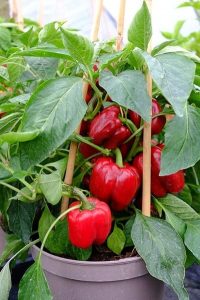
Stakes, typically made of wood or bamboo, can be placed a few inches from the plant’s base. Use soft ties or garden twine to loosely secure the plant to the stake without damaging the stem. Small tomato cages also work exceptionally well for bell peppers, offering 360-degree support and helping the plant maintain its shape. For gardeners growing multiple plants in a single container or a raised bed, a trellis system can provide sturdy and scalable support, allowing the plants to climb naturally while keeping the fruits off the soil.
By investing in proper plant support, you not only protect your peppers from damage but also promote better airflow around the leaves, reducing the risk of fungal infections. Moreover, supported plants are easier to manage during watering, pruning, and harvesting, ensuring a healthy and bountiful crop throughout the growing season.
7. Preventing Pests and Diseases
Common pests like aphids, whiteflies, and spider mites can affect bell peppers. Combat these by:
- Spraying neem oil or insecticidal soap.
- Regularly inspecting the plants and removing any visible pests manually.
To prevent diseases, avoid overwatering and ensure good airflow around the plants.
8. Harvesting Bell Peppers
Bell peppers are ready to harvest when they reach their full size, are firm to the touch, and display a glossy sheen. Their color will depend on the variety and your preference, ranging from vibrant green to striking shades of red, yellow, or orange. Green peppers are typically less sweet and harvested earlier, while fully ripened peppers in other colors offer a sweeter flavor profile. Observing these indicators ensures you pick peppers at their peak ripeness, enhancing their taste and nutritional value.
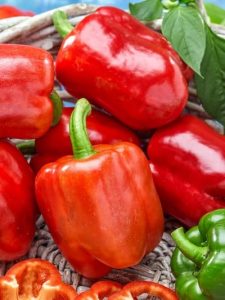
To harvest, use a sharp knife, pruning shears, or scissors to cleanly cut the pepper from the plant, leaving about an inch of the stem attached. This helps preserve the fruit’s freshness and reduces the risk of bruising or damage that can occur when attempting to twist or pull the peppers off by hand. Handle the plants gently during harvesting to avoid disturbing their roots or stems, which can affect their ability to produce more fruit.
Regularly harvesting ripe peppers encourages the plant to focus its energy on developing new flowers and fruits, maximizing your yield over the growing season. Store the harvested peppers in a cool, dry place or refrigerate them to maintain their freshness and crispness for longer periods. With proper care and attention, your container-grown bell peppers will reward you with a continuous supply of delicious, homegrown produce.
Here Are Some Tips for Growing Success
- Rotate your containers occasionally to ensure even sunlight exposure.
- Companion plant with herbs like basil or marigolds to repel pests.
- Regularly prune the plants to remove yellowing leaves and promote healthy growth.
Growing bell peppers in containers is not only convenient but also highly rewarding. With the right care and setup, you can enjoy a bountiful harvest of flavorful peppers straight from your garden or balcony. By incorporating these tips, you’ll master container gardening for bell peppers, creating an abundant and vibrant garden. Start planting today and transform your small space into a thriving green haven.

